
Club Car Charger Manual: A Comprehensive Guide

This manual provides detailed troubleshooting steps, including checking battery connections, wires, and the on-board computer signal for optimal charger performance.
Understanding Your Club Car Charger
Club Car chargers are essential for maintaining the longevity and performance of your golf cart’s battery pack. These chargers aren’t simply power sources; they are sophisticated systems designed to deliver a controlled charge, preventing overcharging and maximizing battery life. Understanding the charger’s function is crucial for proper operation and troubleshooting.
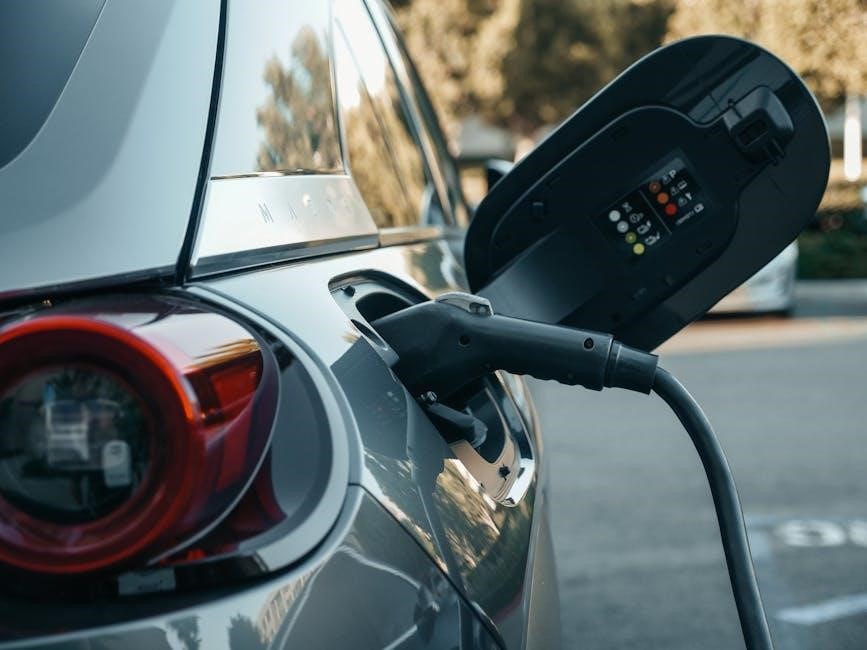
The charger converts standard AC power from a wall outlet into DC power suitable for charging the batteries. Different charger types exist, catering to various battery chemistries and charging needs. Recognizing the charger’s role in the overall electrical system, and how it interacts with the on-board computer, is key to diagnosing issues. Proper usage ensures reliable operation and extends the life of both the charger and the batteries.
Charger Types for Club Car Golf Carts
Club Car utilizes several charger types, primarily differentiated by their voltage and amperage output, and the battery types they support. Older models often employed resistive chargers, while newer carts feature more efficient electronic chargers. These electronic chargers offer features like automatic shut-off and multi-stage charging for optimized battery health.
Common types include 36-volt and 48-volt chargers, corresponding to the battery pack voltage of the golf cart. Some chargers are specifically designed for lead-acid batteries, while others are compatible with newer lithium-ion battery systems. Selecting the correct charger is paramount; using an incompatible charger can damage the batteries or prevent proper charging. Understanding these distinctions ensures you choose the right charger for your specific Club Car model.
Identifying Your Charger Model
Locating your Club Car charger’s model number is crucial for obtaining the correct replacement parts or accessing specific troubleshooting information. The model number is typically found on a sticker affixed directly to the charger casing. Look for a label usually on the side or bottom of the unit.
This sticker will contain a series of alphanumeric characters – this is your model number. Record this number carefully. Knowing the model number allows you to download the correct manual from the Club Car website or contact customer support with precise details. Without it, identifying compatible components or finding tailored solutions becomes significantly more difficult; Accurate identification streamlines maintenance and repair processes.
Installation and Setup
Proper installation involves securely connecting batteries and the charger to a suitable receptacle, followed by an initial charging cycle for optimal performance.
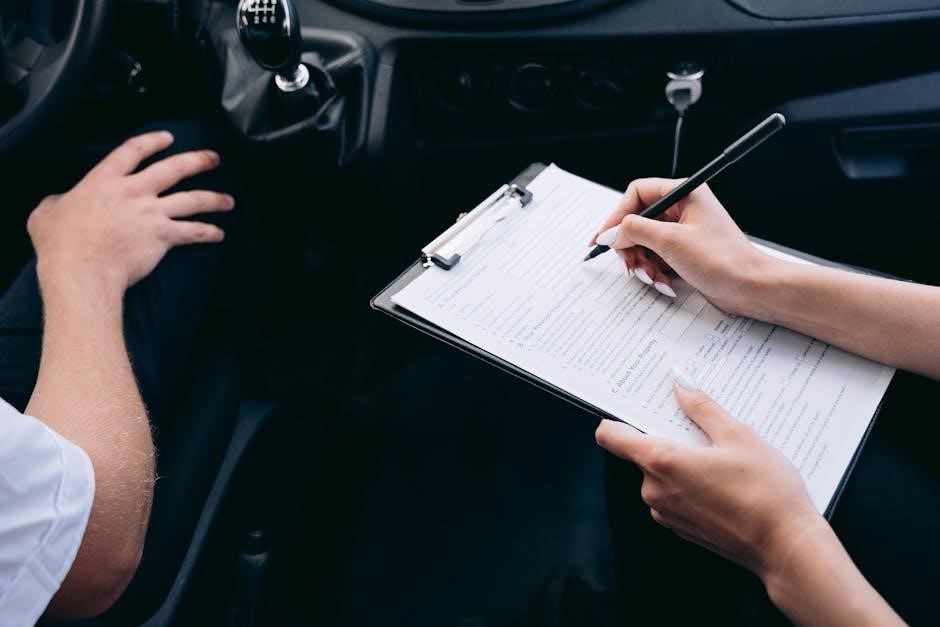
Proper Battery Connection Procedures
Ensuring correct battery connections is paramount for safe and effective charging. Begin by verifying the battery pack voltage; it must be sufficient to trigger the charger’s on-board computer signal.
Always connect the charger to the batteries in the correct sequence – typically starting with the positive (+) terminal of the first battery, then the negative (-) terminal, and continuing this pattern across the entire pack.
Double-check all connections for tightness and cleanliness, as corrosion can impede the charging process. Loose or corroded terminals can prevent a charge from reaching the batteries, leading to incomplete charging or charger malfunction. Prioritize safety by disconnecting the charger before inspecting or adjusting battery connections.
Connecting the Charger to the Receptacle
Before connecting the charger to the power receptacle, ensure the charger is switched off. Verify the receptacle’s voltage matches the charger’s input requirements to prevent damage. Use a grounded outlet and avoid extension cords whenever possible; if one is necessary, ensure it’s heavy-duty and properly rated.
Plug the DC plug firmly into the golf car’s receptacle. A distinct “click” from the charger relay indicates proper connection and initiates the charging circuit. If no click is heard, check the receptacle’s power and the DC plug connection;
Confirm continuity after connecting; this verifies the relay, breaker, and transformer are functioning correctly. Always prioritize electrical safety during this process.
Initial Charging Cycle Guidelines
For new batteries, or batteries that have been deeply discharged, an initial longer charging cycle is recommended. Allow the charger to complete a full cycle, even if the indicator light suggests it’s finished sooner. This ensures complete saturation and maximizes battery lifespan.
During the first charge, monitor the charging process closely. Note the time it takes to reach the full charge indicator. Subsequent charges typically require less time. Avoid interrupting the initial cycle unless absolutely necessary.
A complete initial charge establishes optimal battery performance. Following these guidelines will contribute to the longevity and efficiency of your Club Car’s power system.
Operation and Monitoring
Monitor indicator lights and charging voltage/amperage to understand the charging process. Automatic shut-off features prevent overcharging, ensuring battery health and longevity.
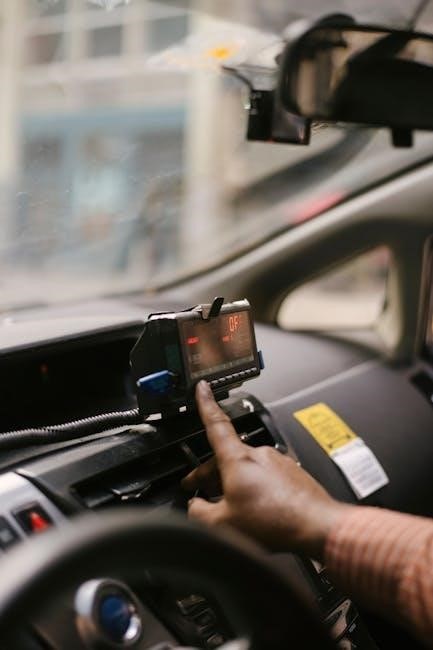
Understanding Charger Indicator Lights
Club Car chargers utilize indicator lights to communicate the charging status. A solid green light typically signifies a complete charge, while a flashing green light indicates the charging process is underway. However, specific light patterns can vary depending on the charger model.
A red light often signals a problem, such as a faulty battery or connection issue. Some chargers may have an amber light to indicate a low voltage situation or a potential battery imbalance. It’s crucial to consult your specific charger manual for a detailed interpretation of each light’s meaning.
Pay close attention to any unusual flashing or color changes, as these could indicate a need for troubleshooting or professional service. Ignoring warning lights can lead to battery damage or reduced charger performance.
Monitoring Charging Voltage and Amperage
Monitoring voltage and amperage during charging is vital for ensuring optimal battery health and charger function. A multimeter can be used to measure the voltage at the battery terminals while the charger is connected. Proper voltage levels vary based on battery type (6V or 12V) and charge stage.
Amperage indicates the charging rate; higher amperage generally means faster charging, but excessive amperage can damage batteries. Most Club Car chargers automatically regulate amperage, but monitoring can reveal issues.
Consistent, stable readings suggest normal operation, while fluctuating values may indicate a problem with the charger or batteries. Always refer to your charger manual for specific voltage and amperage specifications.
Automatic Shut-Off Features Explained
Club Car chargers are equipped with automatic shut-off features designed to protect batteries and prevent overcharging. Once the batteries reach full charge, the charger automatically reduces and eventually stops delivering power, transitioning to a maintenance or float charge.
This prevents damage from excessive charging and extends battery life. Some chargers also feature a shut-off mechanism if they detect a fault, such as a reversed polarity connection or a malfunctioning battery.
Understanding these features is crucial for safe and efficient charging. Always consult your charger manual for specific details regarding shut-off behavior and troubleshooting any related issues.

Troubleshooting Common Issues
Common problems include chargers not recognizing batteries, lack of continuity in relays, breakers, or transformers, and issues with corroded terminals or damaged wires.
Charger Not Recognizing Batteries
If your Club Car charger isn’t recognizing the batteries, begin by ensuring proper battery connections. Verify each cable is securely fastened to the correct terminal – positive to positive, and negative to negative. A loose connection is a frequent culprit.
Next, check the battery voltage; the charger requires a minimum voltage to initiate the charging cycle. If the voltage is too low, fully charge the batteries using another method before attempting to use the charger.
Also, confirm the on-board computer is sending the correct turn-on signal. A defective on-board computer can prevent the charger from activating. Finally, inspect the DC plug for damage or corrosion, as this can interrupt the communication between the charger and the vehicle.
No Continuity – Relay, Breaker, and Transformer Check
When a Club Car charger exhibits no continuity, a systematic check of the relay, breaker, and transformer is crucial. Begin by disconnecting the charger from the power source for safety. Use a multimeter to test for continuity across the breaker; a lack of continuity indicates a tripped or faulty breaker requiring replacement.
Next, examine the relay. When the DC plug is connected to the car receptacle, the relay should click, signifying it’s engaging. If it doesn’t, the relay is likely defective. Finally, test the transformer for continuity; a failed transformer prevents power from reaching the batteries.
Remember to always prioritize safety and disconnect power before performing any electrical tests.
Addressing Corroded Battery Terminals
Corroded battery terminals are a frequent cause of charging issues in Club Car golf carts. Corrosion creates a barrier, preventing a sufficient electrical connection between the charger and the batteries. Begin by disconnecting the charger from both the power source and the battery pack for safety.
Inspect each battery terminal for visible corrosion – a white or bluish powdery substance. Use a wire brush or a specialized battery terminal cleaning tool to thoroughly remove the corrosion from both the terminals and the cable connectors.
After cleaning, apply a battery terminal protectant spray or a thin coat of petroleum jelly to prevent future corrosion. Ensure a tight and secure connection before reconnecting the charger.
Dealing with Weak, Frayed, or Loose Wires
Weak, frayed, or loose wires within the charger or battery cables significantly impede charging efficiency and pose a safety risk. Always disconnect the charger from both the power outlet and the golf cart batteries before inspection. Visually examine all wiring for any signs of damage, including exposed wires, cracks in the insulation, or loose connections.
Gently tug on each wire to check for looseness at connection points. If a wire is frayed, it must be replaced entirely; attempting to repair it is not recommended. Loose connections should be tightened securely.
Replace damaged wires with appropriately sized, high-quality replacements, ensuring proper insulation and secure connections to restore optimal charging performance.
Maintenance and Care
Regular cleaning, cable inspection, and proper storage are crucial for extending your Club Car charger’s lifespan and ensuring consistent, reliable performance.
Cleaning Your Club Car Charger
Maintaining a clean charger is essential for safe and efficient operation. Before any cleaning, always disconnect the charger from both the power receptacle and the golf cart battery. Use a damp cloth – never submerge the charger in water or any other liquid.
Avoid abrasive cleaners, as these can damage the charger’s casing and internal components. Focus on removing dust, dirt, and corrosion from the exterior surfaces, paying particular attention to the connectors and cables. Inspect the connectors for any buildup and gently clean them with a small brush.
Ensure the charger is completely dry before reconnecting it to power or the battery. Regular cleaning prevents overheating and ensures optimal charging performance, prolonging the life of your Club Car charger.

Inspecting Cables and Connectors
Regular inspection of the cables and connectors is crucial for safe and effective charging. Carefully examine the entire length of both the AC power cord and the DC charging cable for any signs of wear, fraying, or damage. Pay close attention to areas where the cables bend or connect to the charger and the golf cart.
Check the connectors for corrosion, loose wires, or broken pins. Corroded terminals can impede the flow of electricity, leading to inefficient charging. If corrosion is present, carefully clean the terminals with a wire brush or a specialized connector cleaner.
Replace any damaged cables or connectors immediately to prevent electrical hazards and ensure optimal performance. A damaged cable can pose a serious safety risk.
Proper Storage Procedures
When storing your Club Car charger for extended periods, proper procedures are essential to maintain its functionality and longevity. Always disconnect the charger from both the power outlet and the golf cart battery before storage. Clean the exterior of the charger with a dry cloth to remove any dirt or debris.
Store the charger in a cool, dry, and well-ventilated area, protected from direct sunlight, extreme temperatures, and moisture. Avoid storing it in damp basements or outdoor sheds. Ensure the cables are neatly coiled and secured to prevent damage.
Periodically check the charger during storage to ensure no signs of corrosion or damage have developed.

Safety Precautions
Prioritize safety by avoiding electrical hazards and following battery guidelines. Ensure proper charger usage in various environments for safe operation always.
Avoiding Electrical Hazards
Electrical safety is paramount when working with Club Car chargers and batteries. Always disconnect the charger from the power receptacle before inspecting or performing any maintenance. Never operate the charger with damaged cords or connectors; replace them immediately.
Avoid exposure to water or damp environments during charging, as this significantly increases the risk of electric shock. Ensure the charging area is well-ventilated to prevent the buildup of potentially explosive hydrogen gas emitted during battery charging.
Inspect the charger and battery cables regularly for signs of wear or damage. Do not attempt to modify or bypass any safety features of the charger. If you are unsure about any aspect of electrical safety, consult a qualified technician.
Battery Safety Guidelines
Club Car batteries contain corrosive acid and can produce explosive gases. Always wear appropriate personal protective equipment, including safety glasses and gloves, when handling batteries. Avoid contact with skin, eyes, and clothing.
Ensure adequate ventilation during charging to dissipate hydrogen gas. Never smoke or introduce open flames near batteries. Keep batteries clean and dry, and promptly neutralize any acid spills with baking soda and water.
Properly dispose of old batteries according to local regulations. Avoid short-circuiting the batteries, as this can cause severe damage and potential fire hazards. Regularly inspect battery terminals for corrosion and clean them as needed.
Charger Usage in Different Environments
Operating your Club Car charger in varied environments requires caution. Avoid using the charger in excessively wet or humid conditions to prevent electrical shock. Ensure the charger is protected from direct sunlight and extreme temperatures, as these can affect performance and lifespan.
When using the charger outdoors, utilize a weatherproof extension cord and receptacle. Never operate the charger near flammable materials or gases. In dusty environments, regularly clean the charger’s vents to prevent overheating.
Always confirm the power source voltage matches the charger’s requirements before connecting. Store the charger indoors in a dry, secure location when not in use, protecting it from the elements.
Advanced Troubleshooting
Diagnosing defective components and checking the on-board computer signal are crucial for resolving complex charging issues within your Club Car system.
Checking the On-Board Computer Signal
Ensuring the vehicle possesses sufficient voltage is the initial step to verify the charger’s activation signal from the on-board computer. A low voltage reading can prevent the charging process from initiating, even with a fully functional charger. Utilize a multimeter to accurately measure the voltage at the designated test point, consulting your Club Car’s wiring diagram for precise location.
If the voltage is insufficient, investigate the battery pack’s state of charge and any potential wiring issues contributing to voltage drop. Confirm proper battery connectivity and inspect for corrosion. Subsequently, if the voltage is adequate, proceed to examine the signal wire itself for continuity and proper connection to the on-board computer. A faulty signal wire or a malfunctioning computer can disrupt the charging sequence.
Diagnosing Defective Charger Components
Identifying a faulty component requires systematic testing. Begin by verifying the functionality of the charger’s relay, breaker, and transformer – ensuring continuity when the DC plug is connected and the relay clicks. A lack of continuity indicates a potential issue within these core components. Next, inspect the rectifier diodes for shorts or opens, utilizing a multimeter in diode test mode.
Furthermore, assess the charging circuitry for any visible signs of damage, such as burnt resistors or capacitors. If you suspect a defective component, replacement with a genuine Club Car part is crucial. Remember to always disconnect the charger from both the AC power source and the golf cart before performing any internal inspections or repairs, prioritizing safety.
Leave a Reply